The Ultimate Step-by-Step Guide for Parents, Teachers, and Young Learners
Learning to code is no longer a skill reserved for advanced programmers or tech-savvy adults. Today, children as young as seven can start exploring the world of programming through simple, visual tools designed to make learning fun and accessible. One of the most popular platforms for young beginners is Scratch, a block-based programming environment developed by MIT.
Scratch allows kids to create animations, interactive stories, and simple games—all without typing a single line of code. This article will show you how your child can create their very first animation in just 10 minutes, even if neither of you have any prior experience.
We will walk through everything step-by-step, explore the key Scratch concepts kids naturally learn along the way, and provide helpful tips to build confidence and creativity. By the end of this guide, your child will have created a complete animation they can proudly show off.
Let’s get started.
What Is Scratch and Why Is It Perfect for Kids?
Scratch is a visual programming platform built specifically for children ages 7–12. Instead of writing code, kids use colorful blocks that snap together like puzzle pieces. Each block represents a command or action—such as moving a character, playing a sound, or repeating a motion.
Why Scratch Works So Well for Kids
Here’s what makes Scratch stand out in the world of early coding education:
✔ It’s simple and safe
Scratch runs directly in a web browser at scratch.mit.edu. There’s nothing to install, and it’s entirely free to use. Kids do not need an account to start creating.
✔ It’s designed for creativity
Kids can draw their own characters, record sounds, or build imaginative scenes. The platform encourages storytelling as much as coding.
✔ Coding concepts are learned naturally
Through building animations and games, children begin to understand:
- sequences
- loops
- events
- variables
- conditionals
- basic algorithms
They learn these foundational ideas through play—without even realizing they’re learning computer science.
✔ It builds confidence fast
Kids see immediate results: when they snap blocks together and press the green flag, the action happens instantly.
What You Need Before You Start
The great news is that getting started with Scratch takes almost no preparation. Your child can begin creating animations within minutes.
You will need:
● A laptop or Chromebook
● Internet access
● A web browser (Chrome works best)
● 10–15 minutes of time
● Optional: A free Scratch account if you want to save your project
Optional but helpful:
● A mouse (easier for kids than a trackpad)
● A quiet place free of distractions
● Headphones if your animation will include sounds
There’s nothing technical to set up. Kids can jump straight into the creative process.
Getting Started: Opening Scratch and Creating a New Project
To begin:
- Go to scratch.mit.edu
- Click “Create” in the top-left corner
This opens a brand-new project with:
- A blank stage (the white area on the right)
- A default sprite (the Scratch Cat)
- A block palette with categories like Motion, Looks, Events, and Sounds
- A scripting area in the center
This workspace is where all the animation magic happens.
Understanding the Scratch Interface (Kid-Friendly Overview)
Before starting our 10-minute project, it helps to understand the main parts of the interface. Here’s a quick explanation you can share with your child:
Stage
This is the “screen” where the animation happens. Characters appear here.
Sprites
Sprites are the characters or objects your child controls in an animation—animals, people, shapes, or even hand-drawn creations.
Blocks Palette
On the left side are colorful blocks grouped into categories:
- Motion (move, rotate, glide)
- Looks (say, change costume)
- Sound (play audio)
- Events (start actions)
- Control (loops)
- Sensing
- Operators
- Variables
Script Area
This is where kids snap blocks together to create the animation.
The interface is intentionally simple and intuitive. Even very young children learn it quickly.
The 10-Minute Animation Project: Step-by-Step Guide
This project is designed for true beginners. It uses basic blocks and teaches essential concepts without overwhelming the learner.
When finished, your child will have created a simple animated scene with movement, dialog, and a background.
⭐ Step 1: Choose Your Main Character (Sprite)
Start with the default Scratch Cat or pick a new character:
- Click the “Choose a Sprite” button
- Select a character kids like—animals, robots, fantasy creatures
Popular choices among Western kids:
- Unicorn
- Dog
- Dino
- Robot
- Alien
Choosing characters kids enjoy increases their engagement and creativity.
⭐ Step 2: Add a Background
Click the “Choose a Backdrop” button.
Good beginner-friendly options:
- Blue Sky
- Woods
- Room
- Space
A background instantly makes the animation feel like a real story.
⭐ Step 3: Start the Program With an Event Block
Every Scratch animation starts when an event happens.
For beginners:
when green flag clicked
This block ensures the animation runs whenever the child clicks the green flag.
⭐ Step 4: Make Your Character Move
Now add motion blocks. A simple starting animation:
move 10 steps
turn 15 degrees
move 10 steps
But for smoother animation, use a loop:
repeat 10
    move 10 steps
    turn 5 degrees
end
This creates a gentle spinning or dancing motion.
⭐ Step 5: Add a Simple Dialogue or Text Bubble
Kids love making their characters “talk.” Use this block:
say "Hello!" for 2 seconds
Encourage them to be creative:
- “Welcome to my animation!”
- “Let’s start!”
- “I’m learning Scratch!”
⭐ Step 6: Add Glide Animation for Smoother Movement
Gliding introduces more realistic animation.
Example:
glide 1 sec to x: 100 y: 50
glide 1 sec to x: -50 y: -40
Kids immediately feel proud when they see the character float smoothly.
⭐ Step 7: Try a Costume Change for Visual Variety
Many sprites have multiple costumes.
next costume
Use it inside a loop to create a walking effect.
repeat 10
    move 5 steps
    next costume
end
Now your character “walks” across the screen—kids love this.
⭐ Step 8: Add Sound Effects (Optional Fun Enhancement)
Use:
play sound "meow"
or choose any built-in sound.
This adds excitement but is optional for quieter classroom environments.
⭐ Step 9: Run the Animation
Press the green flag and watch everything come to life.
Encourage your child to celebrate this moment—they just created a program!
⭐ Step 10: Save the Project (If Using an Account)
Click File → Save now.
If you don’t have an account, simply download the .sb3 file.
Understanding the Coding Concepts Kids Learn in These 10 Minutes
This simple animation teaches essential computer science fundamentals:
✔ Sequencing
Blocks run in order from top to bottom.
✔ Events
Programs start when something happens (green flag).
✔ Loops
Repeating actions saves time and makes smooth animations.
✔ Coordinates
Movement uses x and y positions, introducing basic math concepts.
✔ Costumes
Kids learn simple animation frames.
✔ Cause and effect
Kids see immediate results: “When I snap this block, my character moves!”
These concepts give kids a powerful foundation for more advanced programming later.
10-Minute Animation Variations (More Creative Options)
Here are fun extensions for kids who finish early or want more challenge:
1. Add a second character and make them interact
- Make them talk to each other
- Have one chase the other
- Create a short comedy scene
2. Add background music
3. Create a basic dance sequence
Use loops and costume changes.
4. Add simple physics-like behavior
Jumping, bouncing off edges, floating, spinning.
5. Build a short animation story
Beginning → Middle → Ending
Kids love storytelling.
Encouraging Creativity: Tips for Parents and Teachers
✔ Don’t tell kids exactly what to build
Give them freedom. Creativity is the core of Scratch.
✔ Celebrate small wins
“Wow, you made your character move!”
✔ Let kids explore the sprite library
Western kids love:
- Fantasy
- Cute animals
- Space themes
- Robots
✔ Don’t correct everything
Part of learning is trial and error.
✔ Avoid comparing projects
Every child’s imagination is different—and that’s the beauty of Scratch.
Common Mistakes Beginners Make (and How to Fix Them)
1. The character doesn’t move
Solution:
Make sure the block stack starts with:
when green flag clicked
2. Animation stops too fast
Add a loop:
repeat 10
3. Sprite disappears from the stage
Click “Show” or reset coordinates:
go to x: 0 y: 0
4. Background covers the sprite
Remind kids:
- Backdrop is behind everything
- Sprites always appear on top
5. Sounds don’t work
Check:
- Speaker volume
- Sound block placement
Teaching beginners requires patience. Scratch is extremely forgiving—kids can’t “break” anything.
Why This 10-Minute Animation Matters
Even though this project is simple, it provides a huge psychological boost. Children:
- Feel capable (“I made a real animation!”)
- Learn logical thinking
- Gain technical confidence
- Start imagining bigger projects
- Develop problem-solving skills
Scratch is often a child’s first positive coding experience, and this success experience is powerful.
Research consistently shows that early confidence strongly predicts later interest in STEM fields.
What Kids Can Learn Next (Recommended Progression Path)
After completing this animation, kids can explore:
Stage 2: More complex animation
- Character interaction
- Timing and synchronization
- Scene transitions
Stage 3: Beginner games
- Pong game
- Maze game
- Catching game
Stage 4: Storytelling
- Animated stories with multiple scenes
- Dialog and emotions
- Sound effects
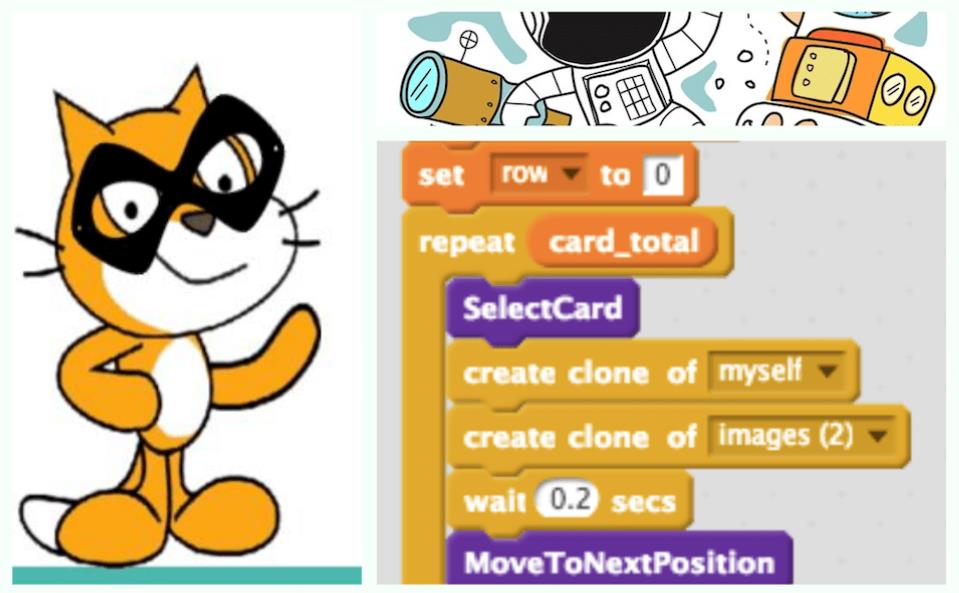
Stage 5: Intermediate Scratch skills
- Variables
- Broadcasting
- Cloning
- Conditions
- Timers
Scratch offers a growth path that scales with kids’ skills.
Every Child Can Code
Creating a simple animation in 10 minutes is more than just a quick project—it is an invitation into a world of creativity, logic, and storytelling. Scratch empowers children to build entire worlds using only imagination and a few colorful blocks.
Whether you’re a parent, teacher, or a young learner yourself, remember:
You don’t need a technical background to begin.
You only need curiosity, creativity, and a willingness to explore.
With Scratch, every child can learn to code—and have fun doing it.
Leave a Reply